4 Office Organization Tricks for Bloggers.
Thank you to Brother for partnering on this post!
I have been on a serious labeling spree lately (as evidenced by my little toiletries makeover – P-Touch has been a game changer!). I’m in the progress of finishing up the decorating in my new apartment, and I had one space left to tackle… my office.
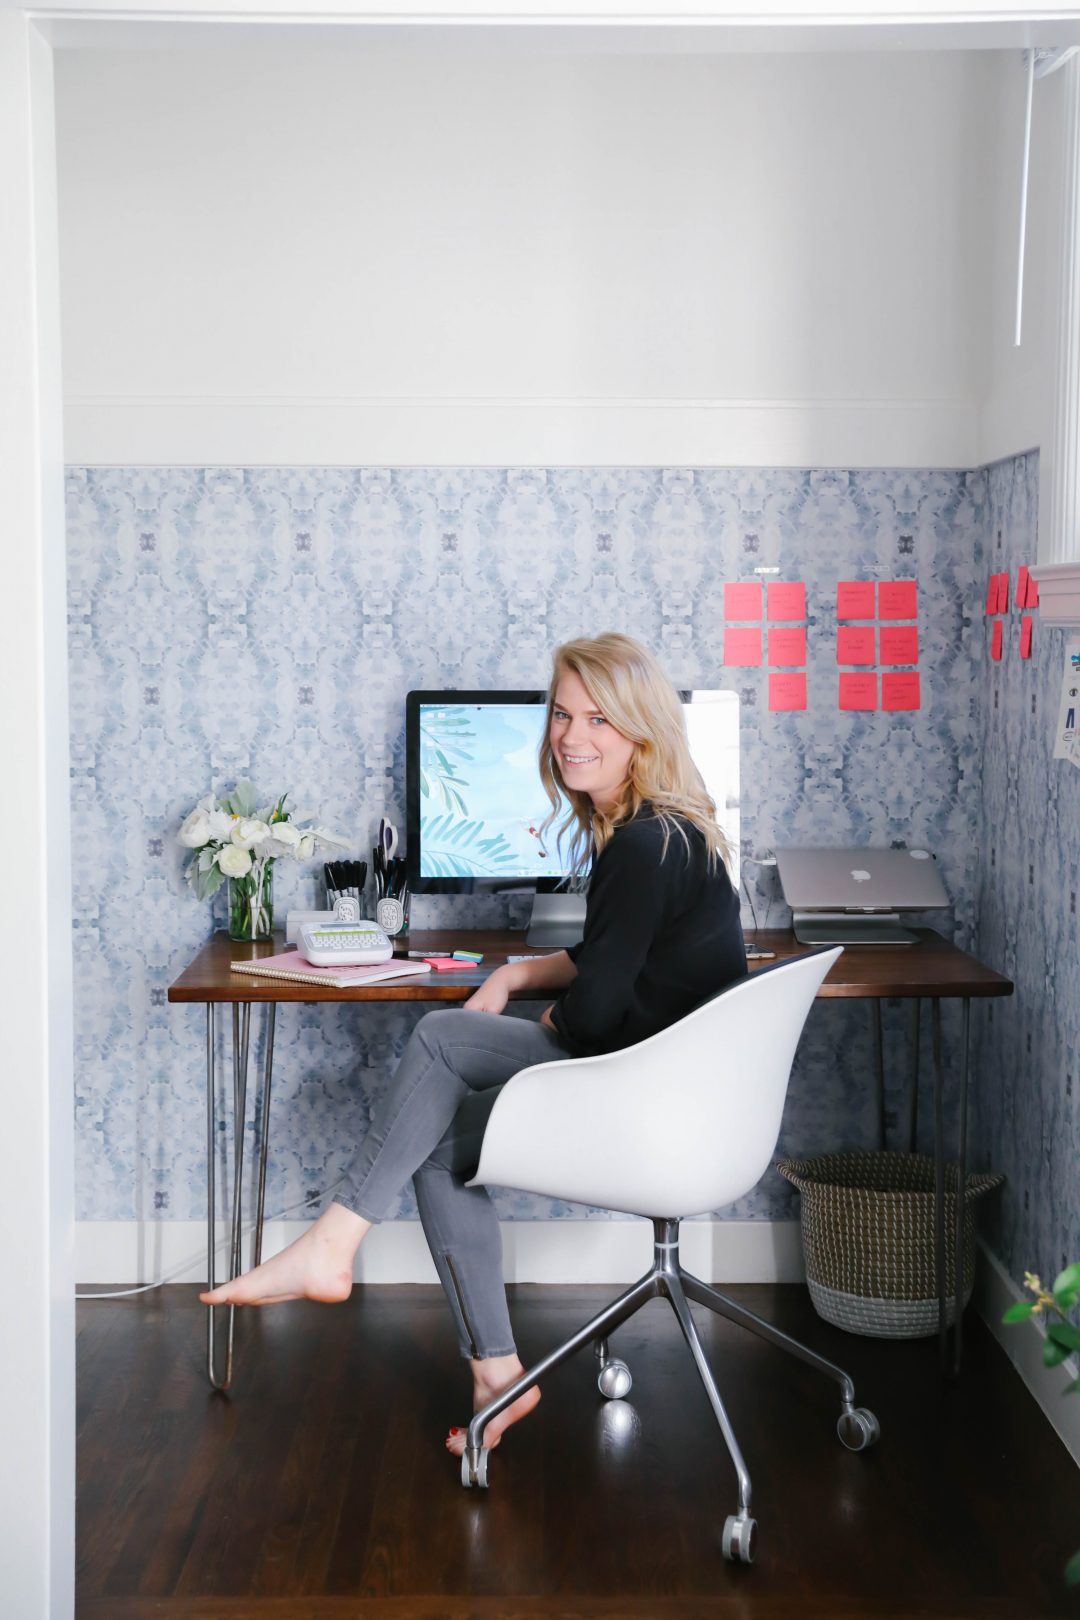
I use the term “office” lightly here because the nook off my living room that’s now home to Pretty & Fun HQ very obviously used to be a closet. It’s perfect for a mini office for the blog, but it means I’m always looking to make the most out of every inch of my space.
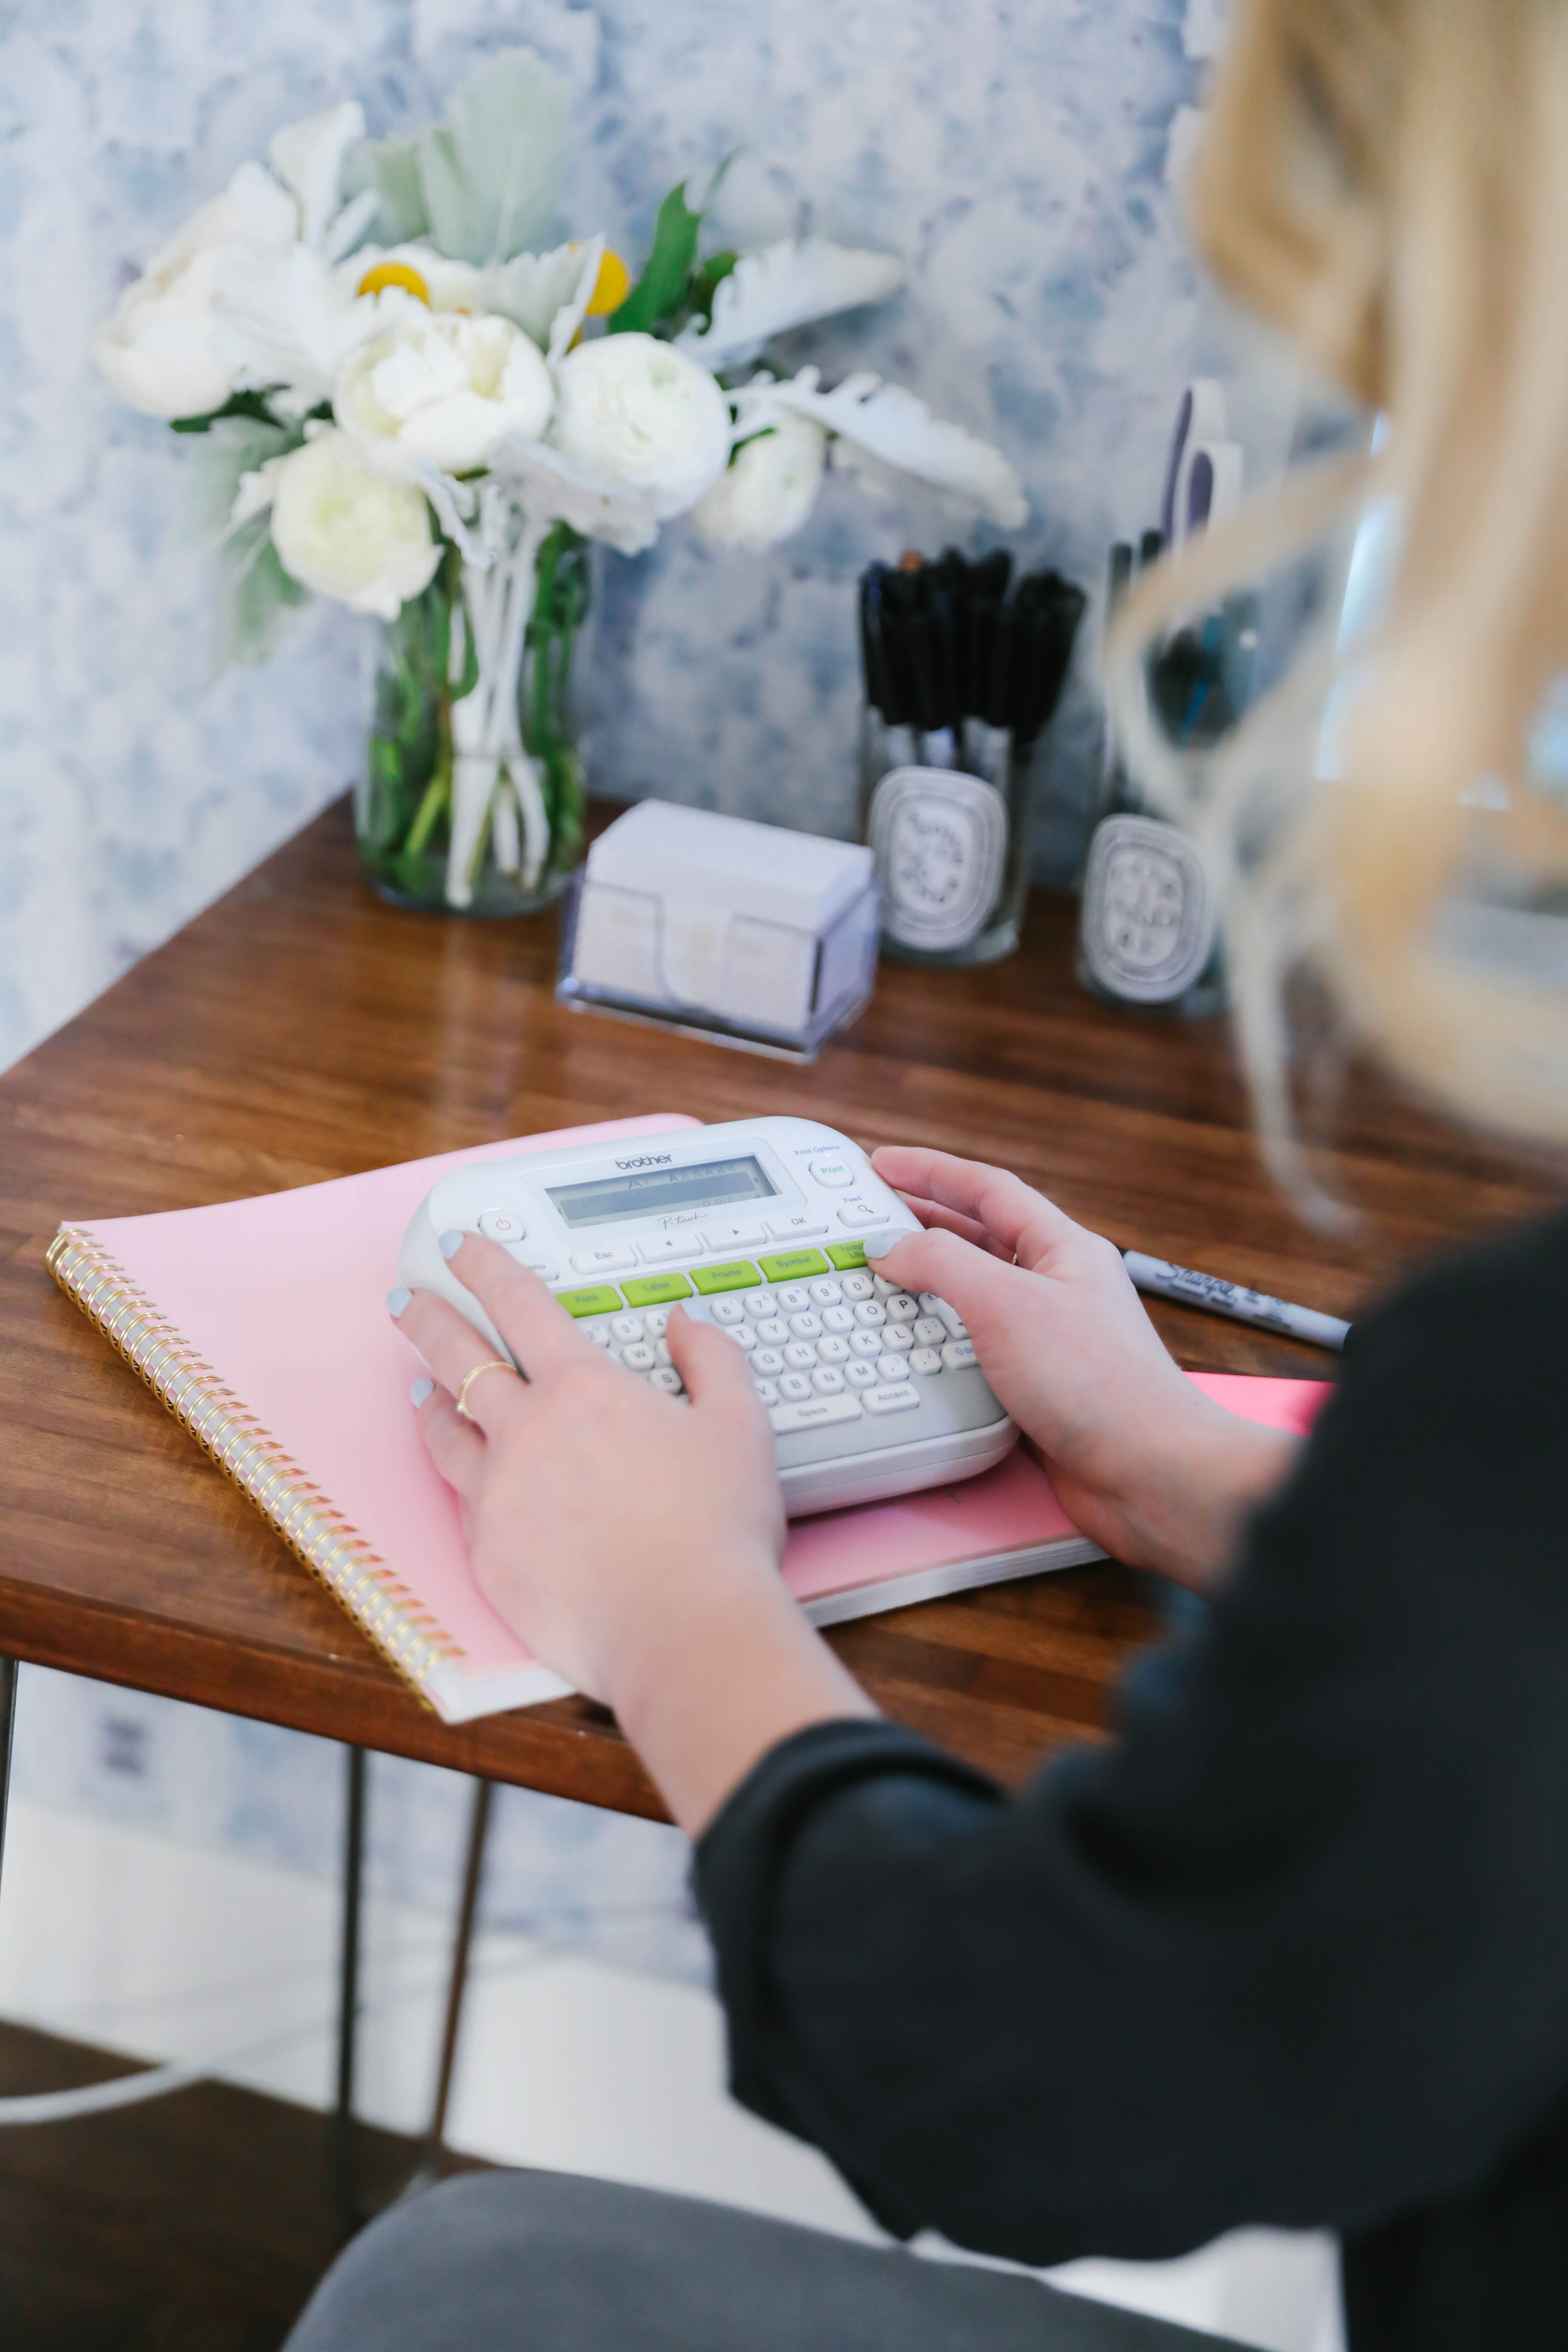
Plus, I’m always in need of storage and organization to keep things running smoothly and looking relatively tidy so, I grabbed my handy Brother P-Touch D210 label maker and got to work!
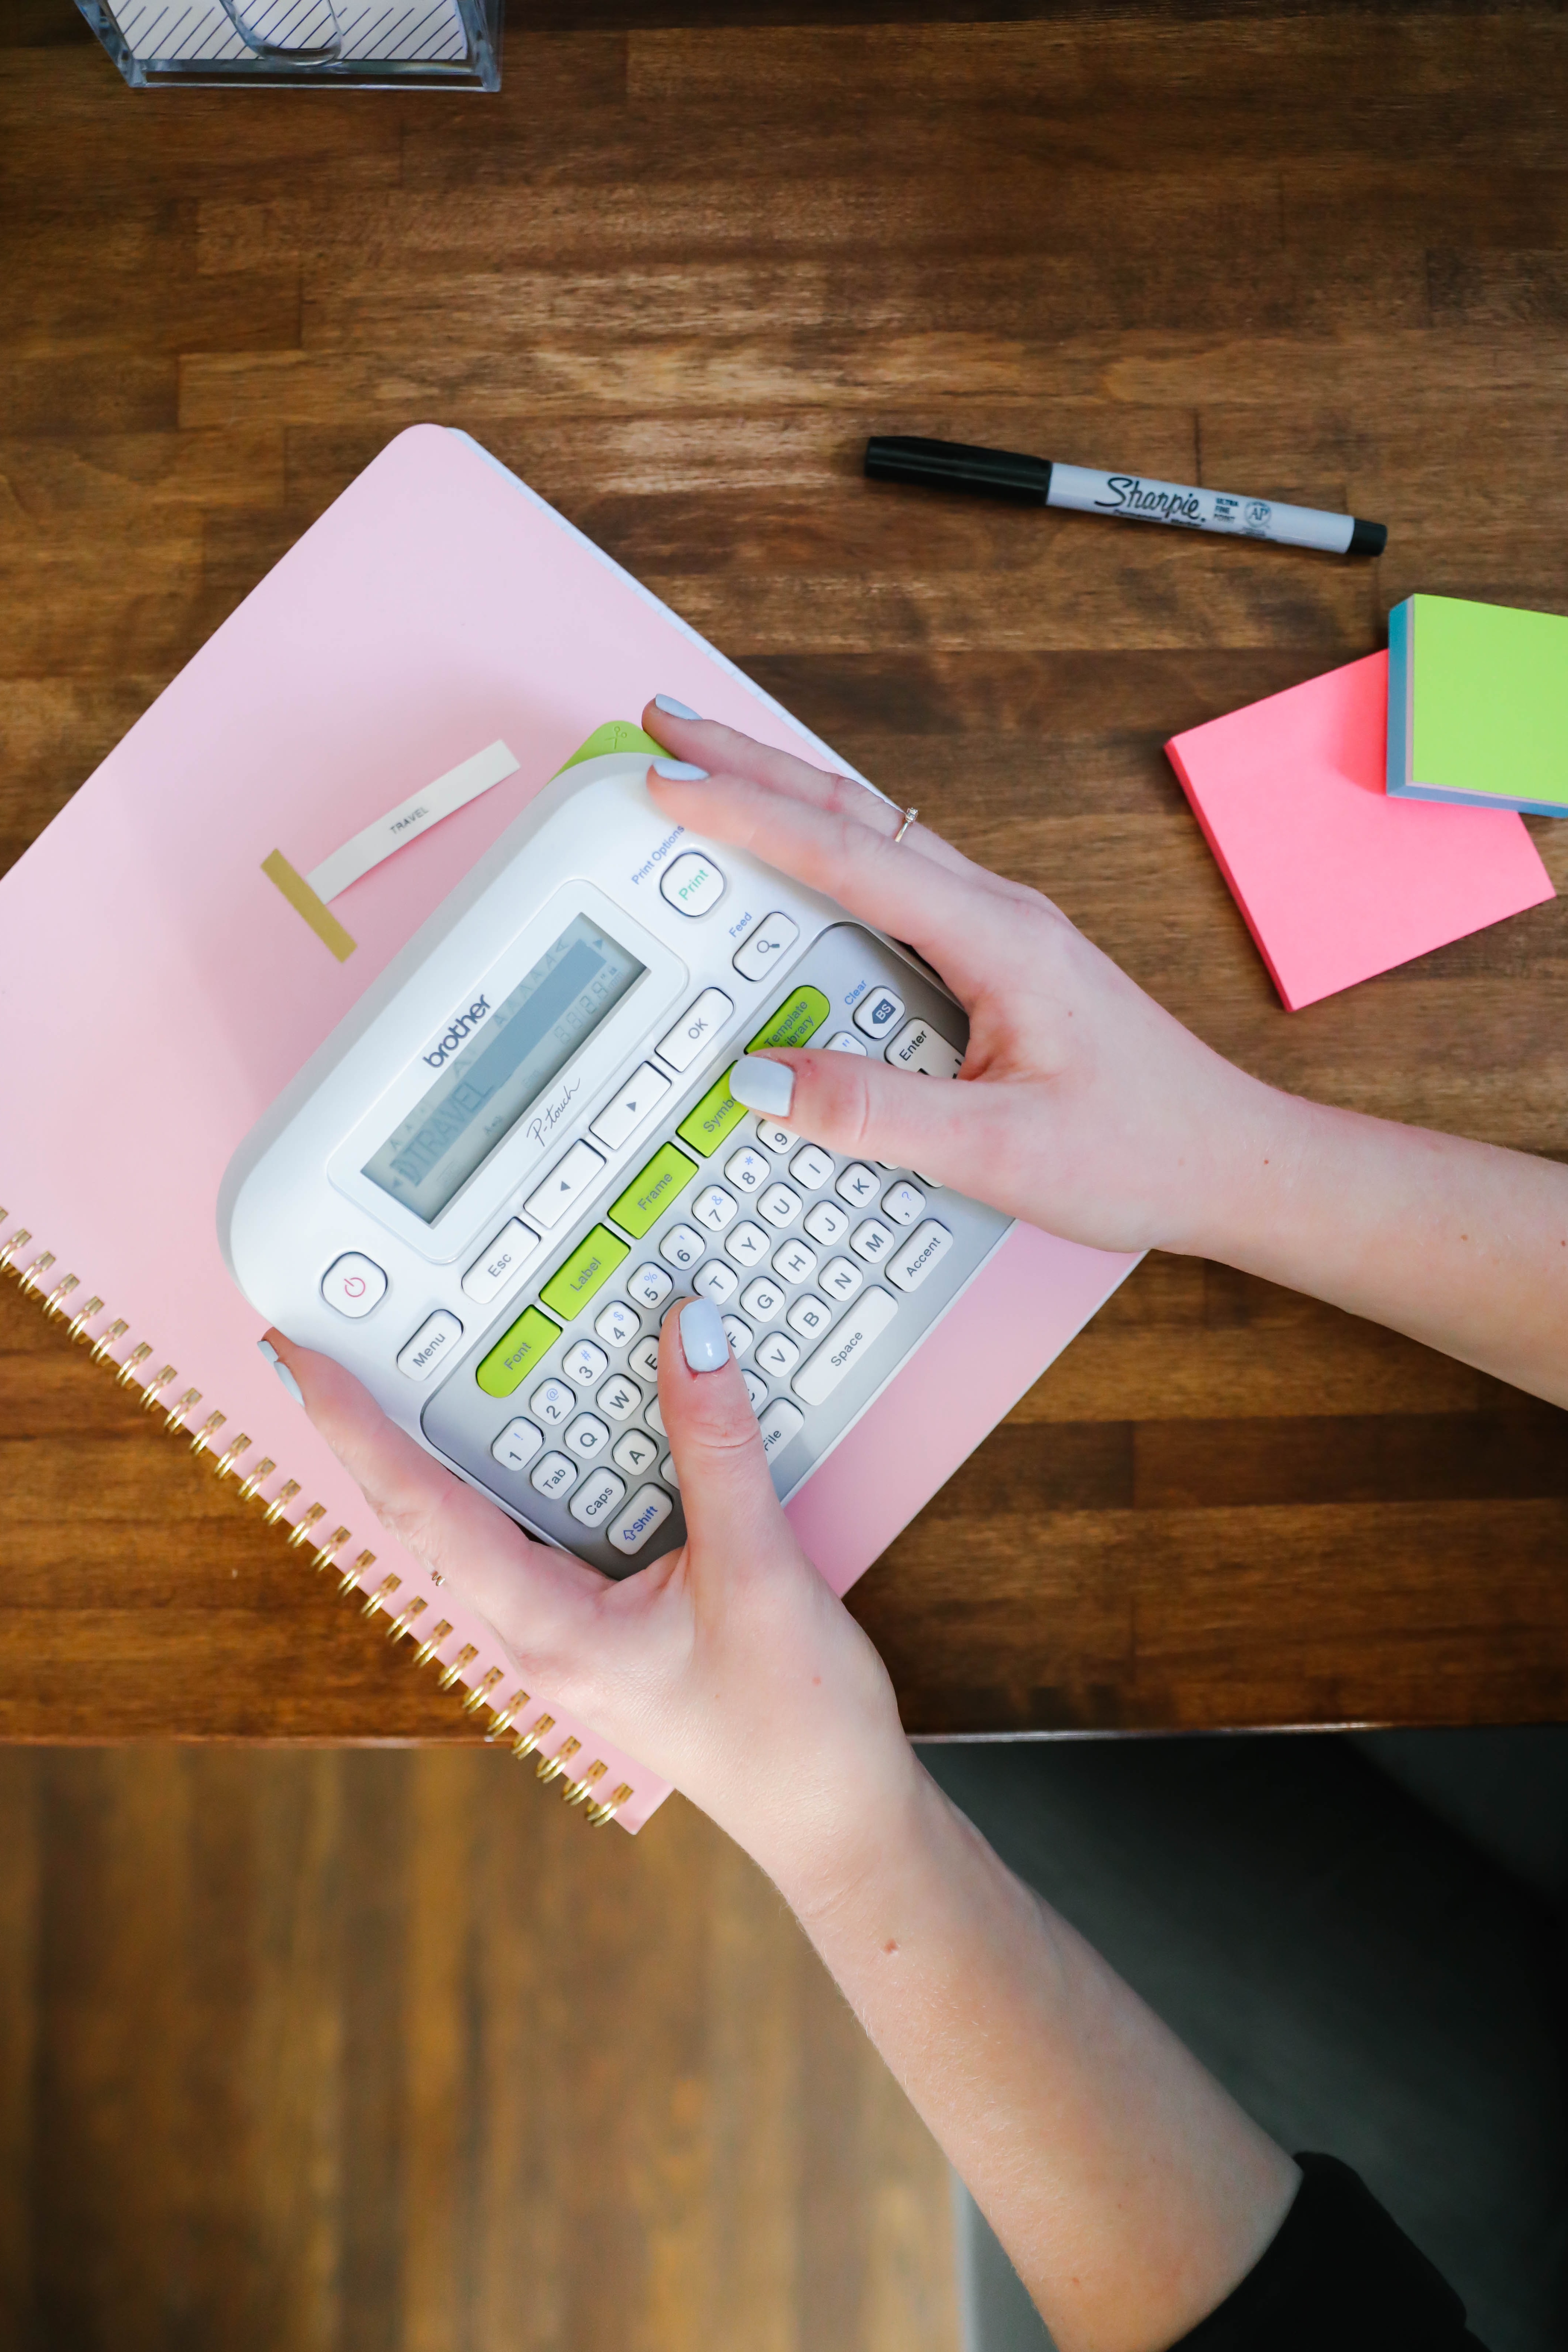
In my experience I’ve found that storage and organization goes beyond r filing things away in an orderly way, and needs to be really functional. I needed a mix of having things easily within view/reach from my workspace, and setting up categorization systems so the status of partnerships and projects could be easily tracked. Using the variety of label colors, font choices and font sizes available with my Brother P-Touch D210, ensured I was able to not only tackle my office organization project but do it in style so that everything fit in seamlessly with my décor in the space.
A few office organization tricks I’ve picked up while tackling my office area that could be helpful to my fellow bloggers or small business owners running their biz out of their home:
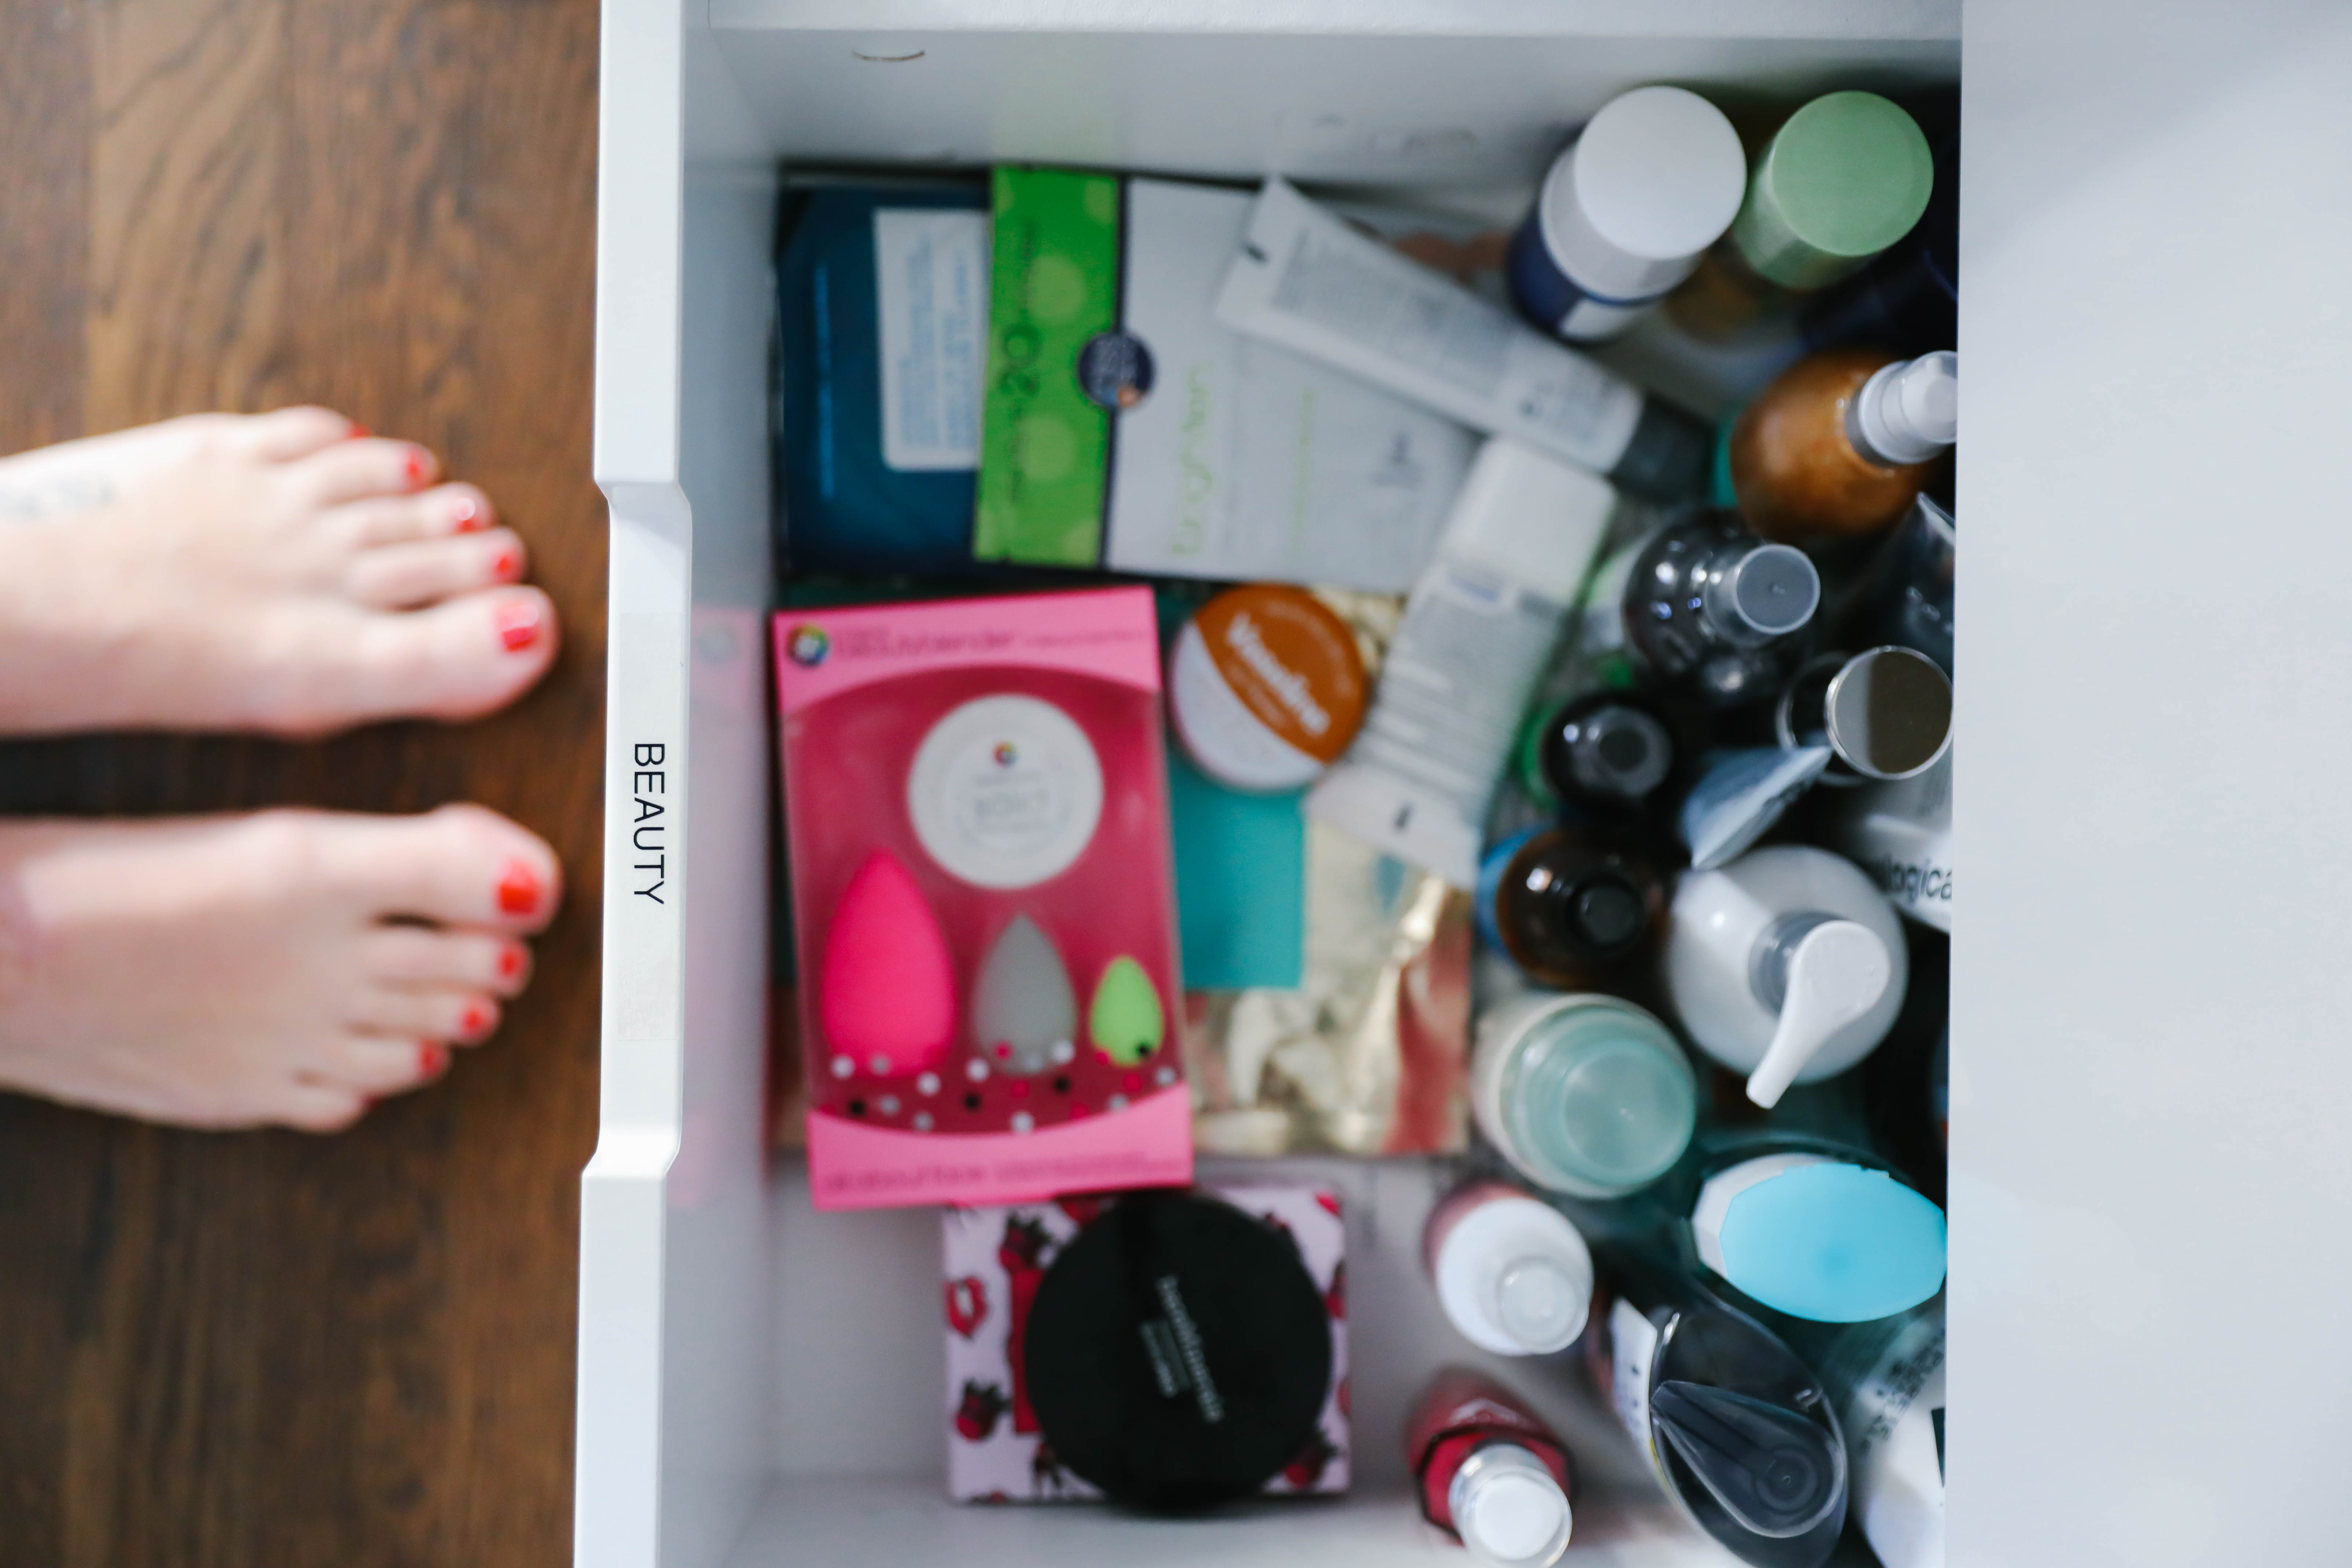
1. Find a Way to Keep Things Out of Sight: From props to office supplies and beauty product samples, running a blog tends to come with a lot of stuff and it was starting to drive me a bit crazy. Adding a simple low dresser with several drawers to my little office alcove gave me a way to have designated spaces for certain items (and avoid the bad habit of dumping everything into one drawer as I had been previously doing when I had a filing cabinet under my desk!). After planning out what each drawer would be used for, I created simple labels using the Brother P-Touch D210 label maker on clear tape. That provides a subtle way to remind myself of what goes where to avoid the dreaded “where did I put that?” moments when prepping for a big photoshoot or working on content.
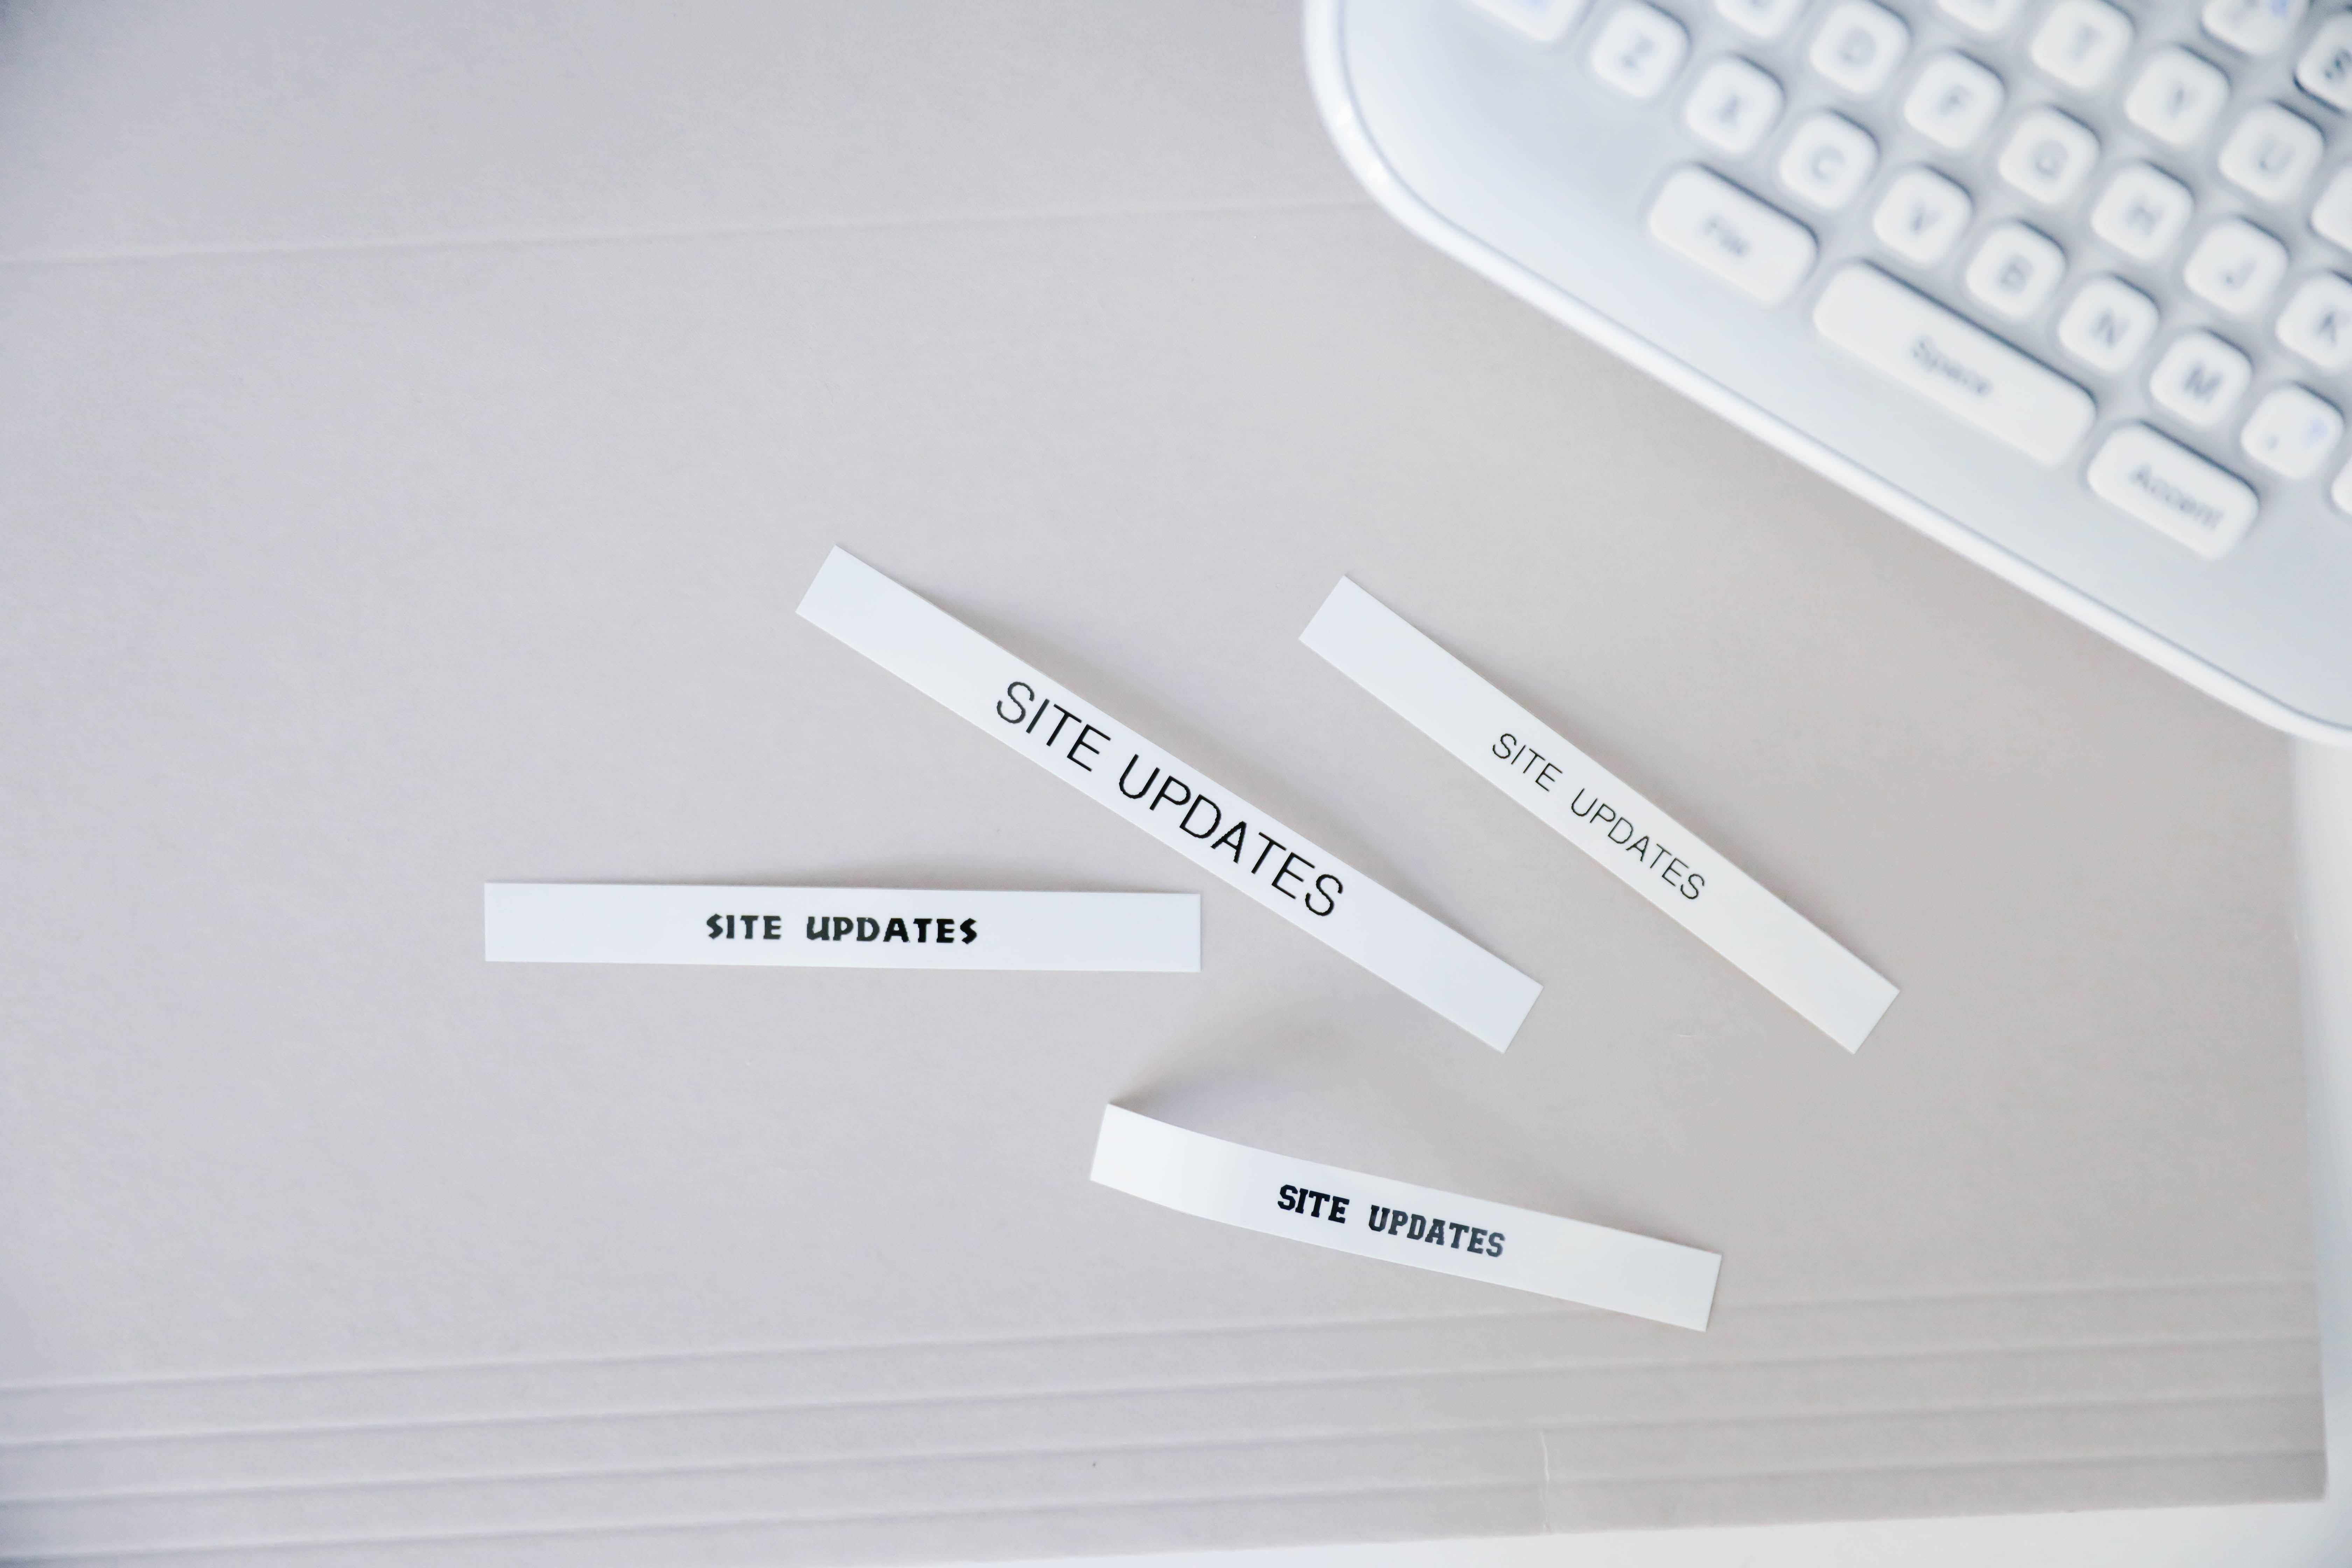
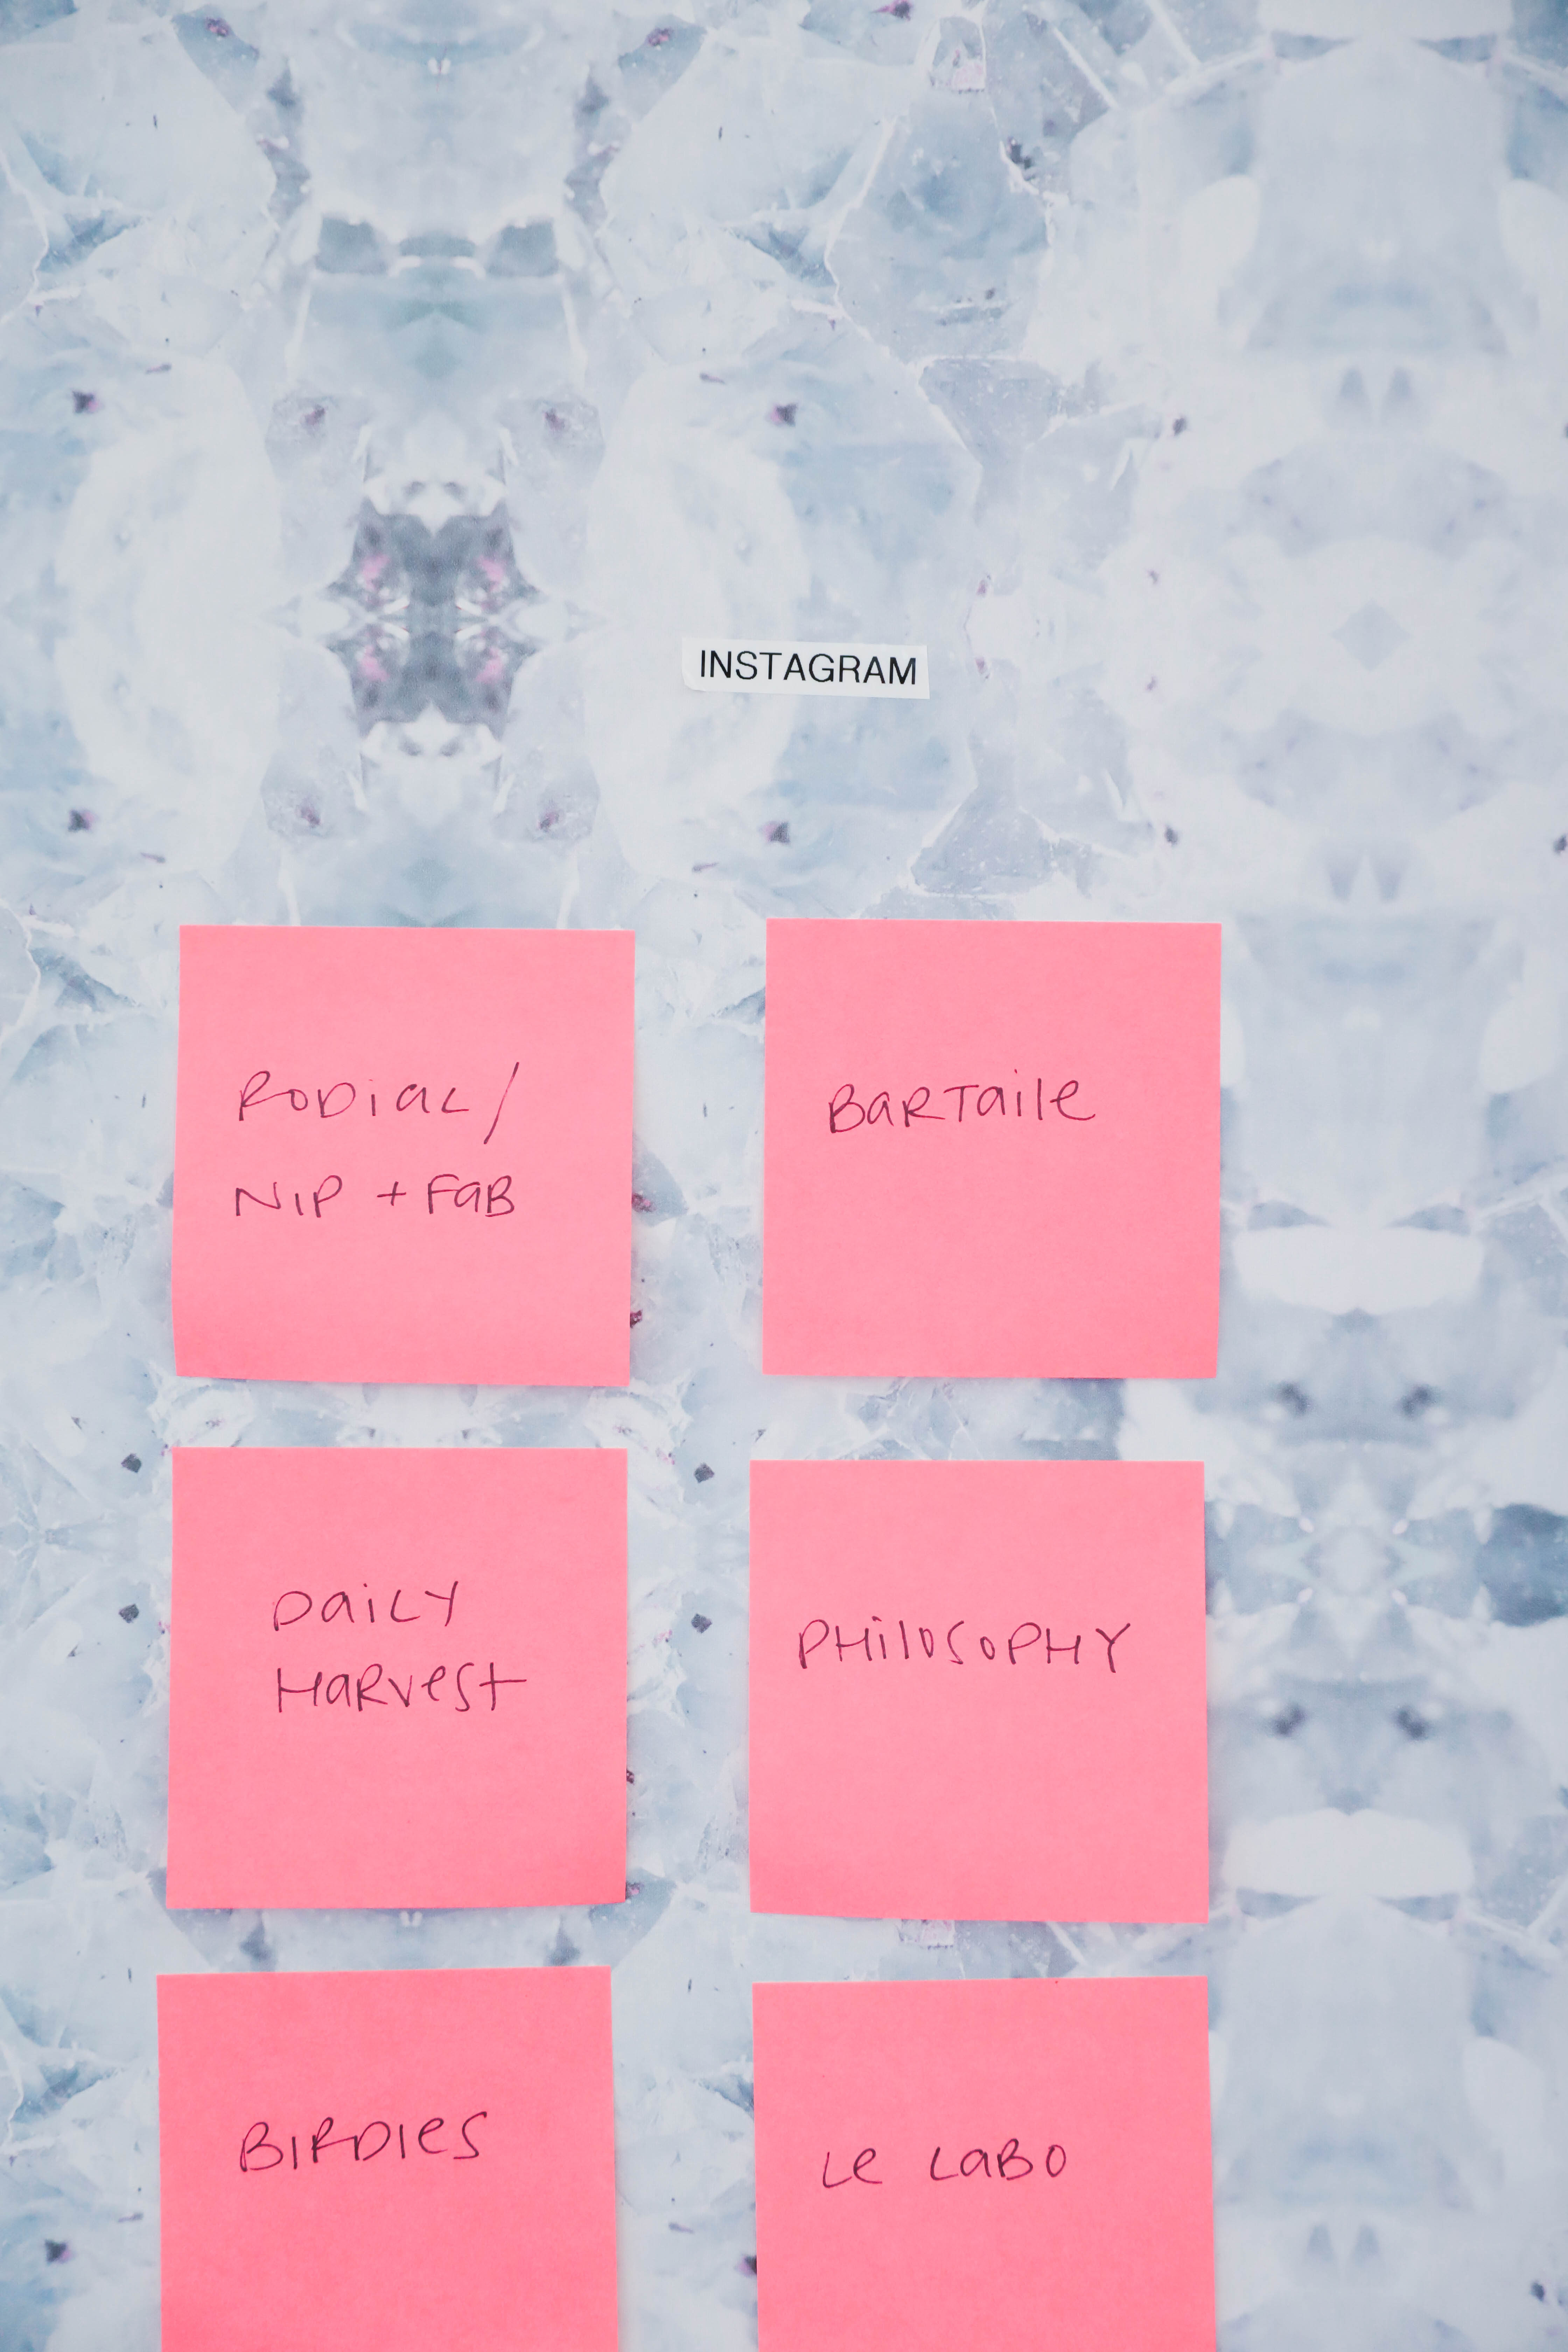
2. Make Your Upcoming Plans Visible: Although most of my work for the blog is done online, I’m totally a visual person and I love being able to see things laid out clearly right in front of me. There are usually various random notes strewn about all over my desk. To avoid these cluttering up my workspace or being lost, I decided to add some structure to my analog system and keep track of my upcoming to do’s right on the wall next to where I work. I created a few categories that my tasks tend to fall into and created labels using my P-touch. Now I have sticky note “hit lists” and upcoming plans front and center in my workspace. I love how the white P-touch TZe labels can be seen against the wallpaper. They peel off easily without leaving behind any residue for when I need to swap things out.
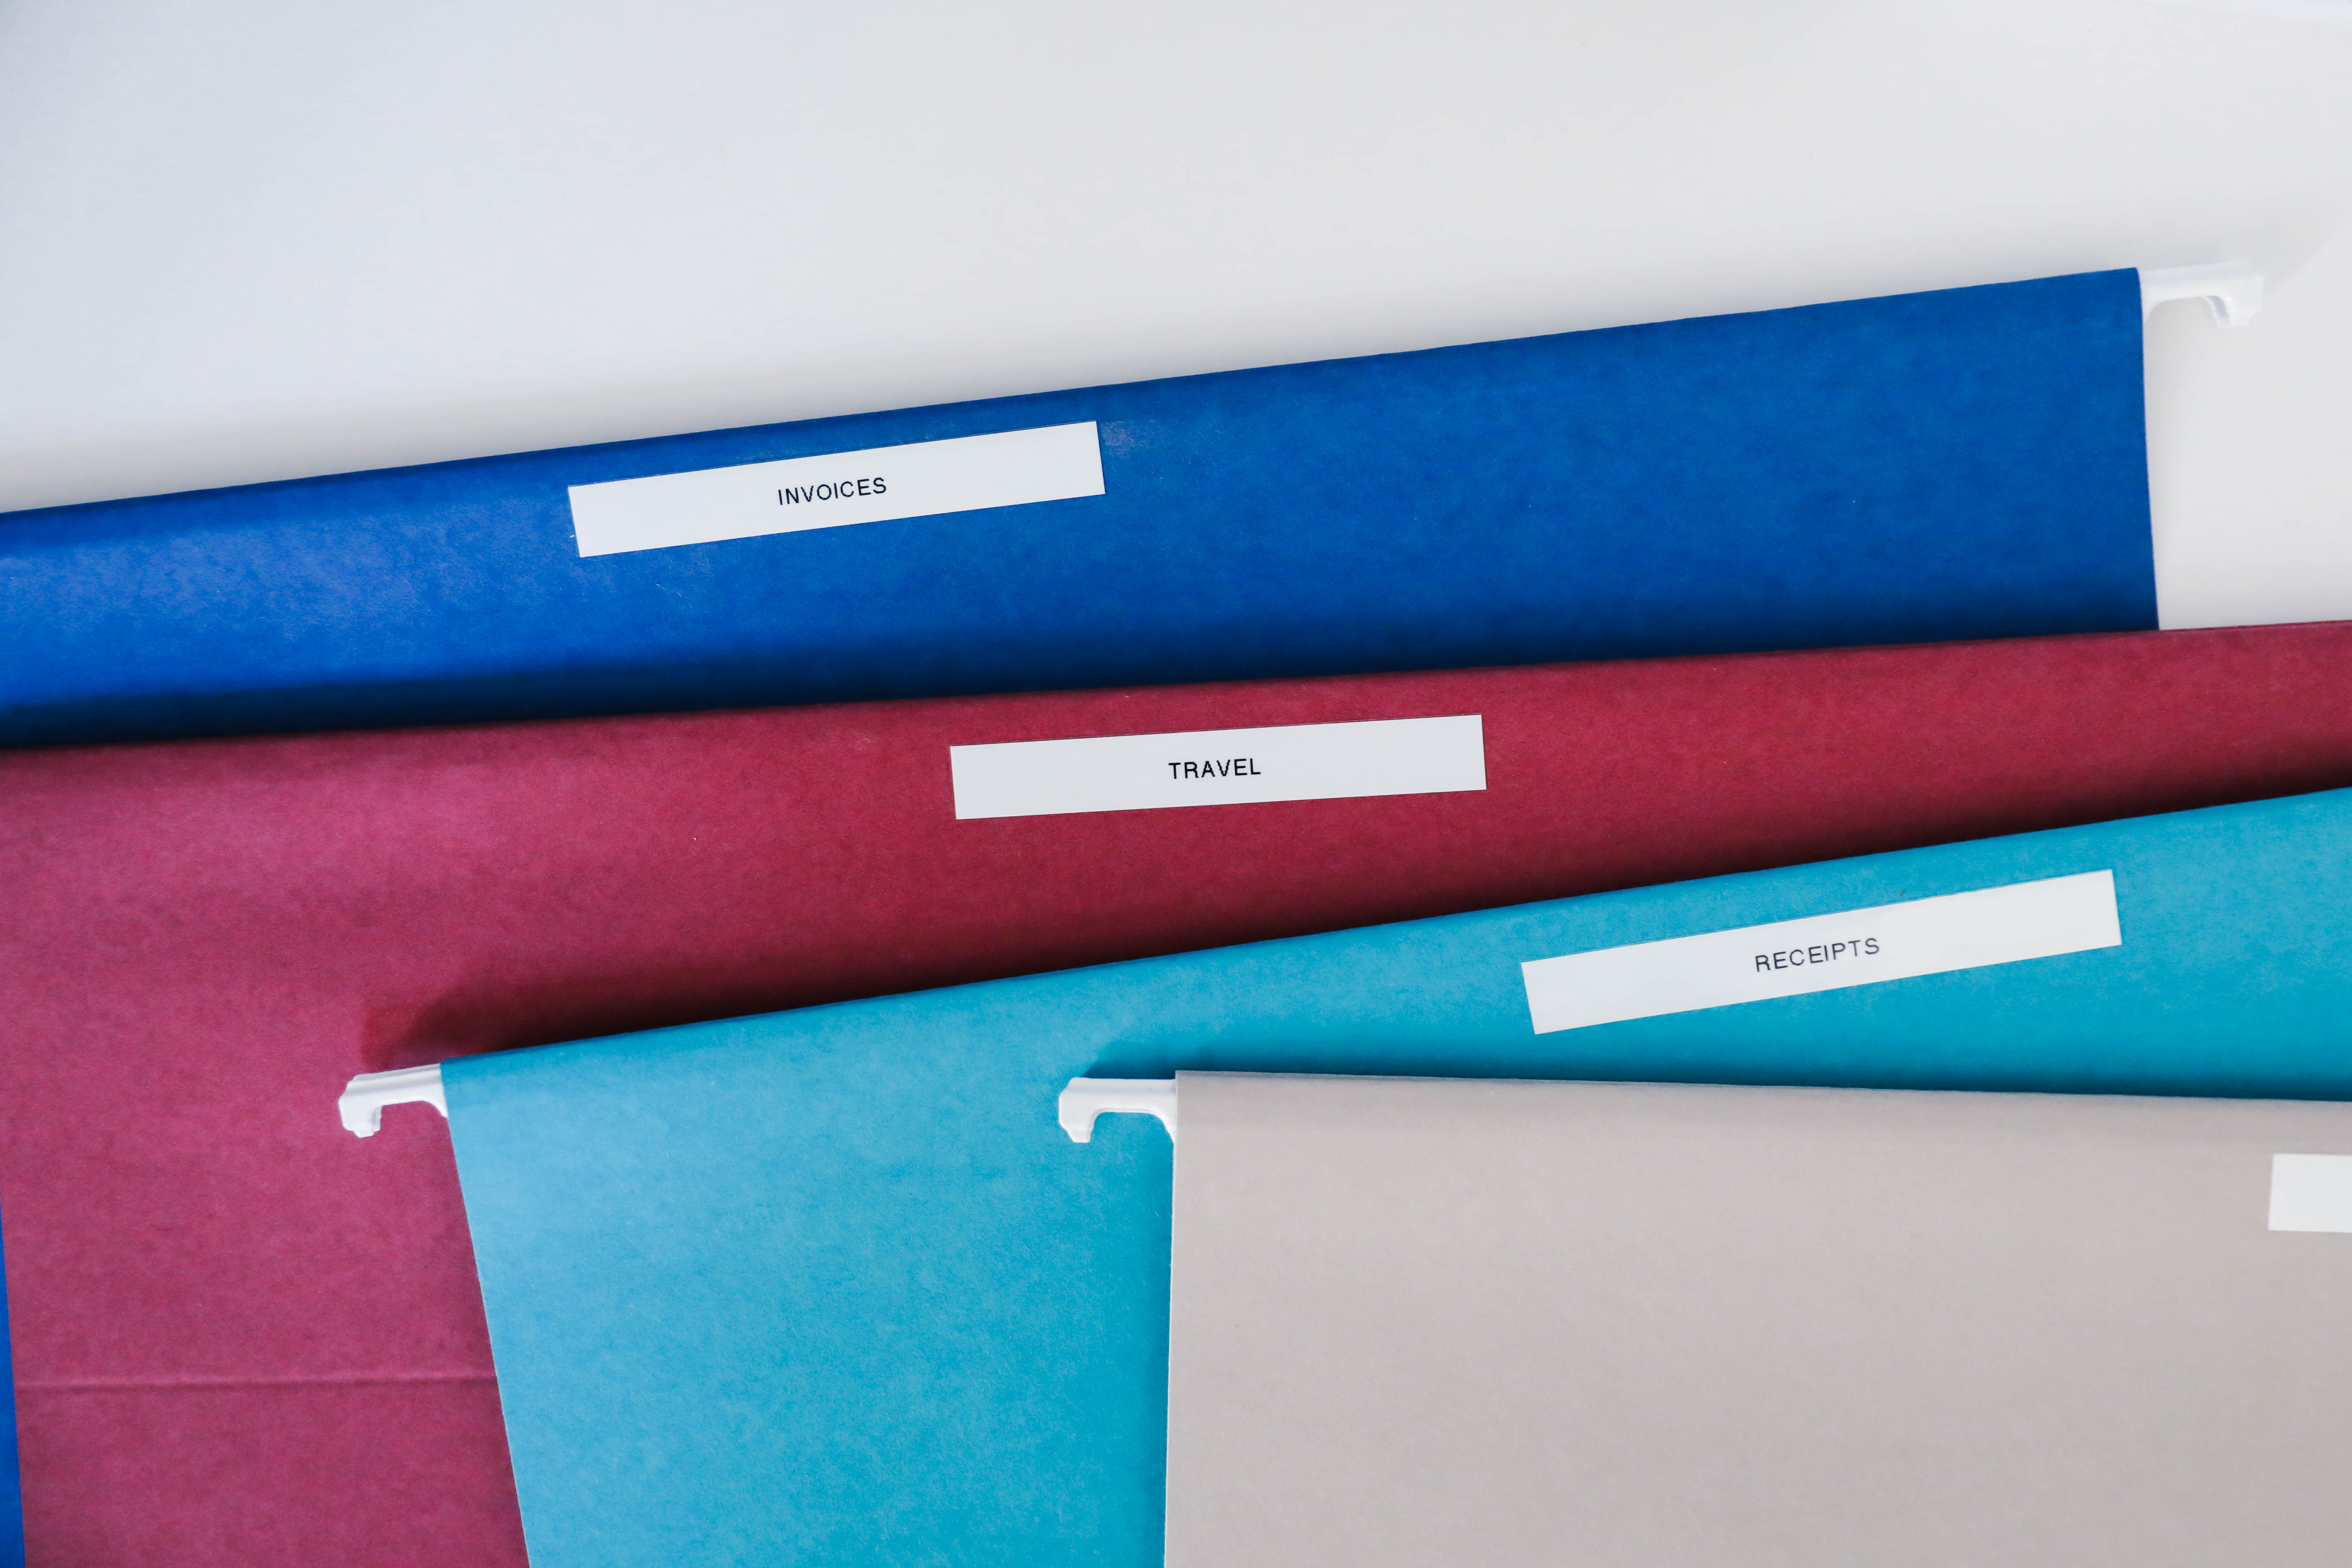
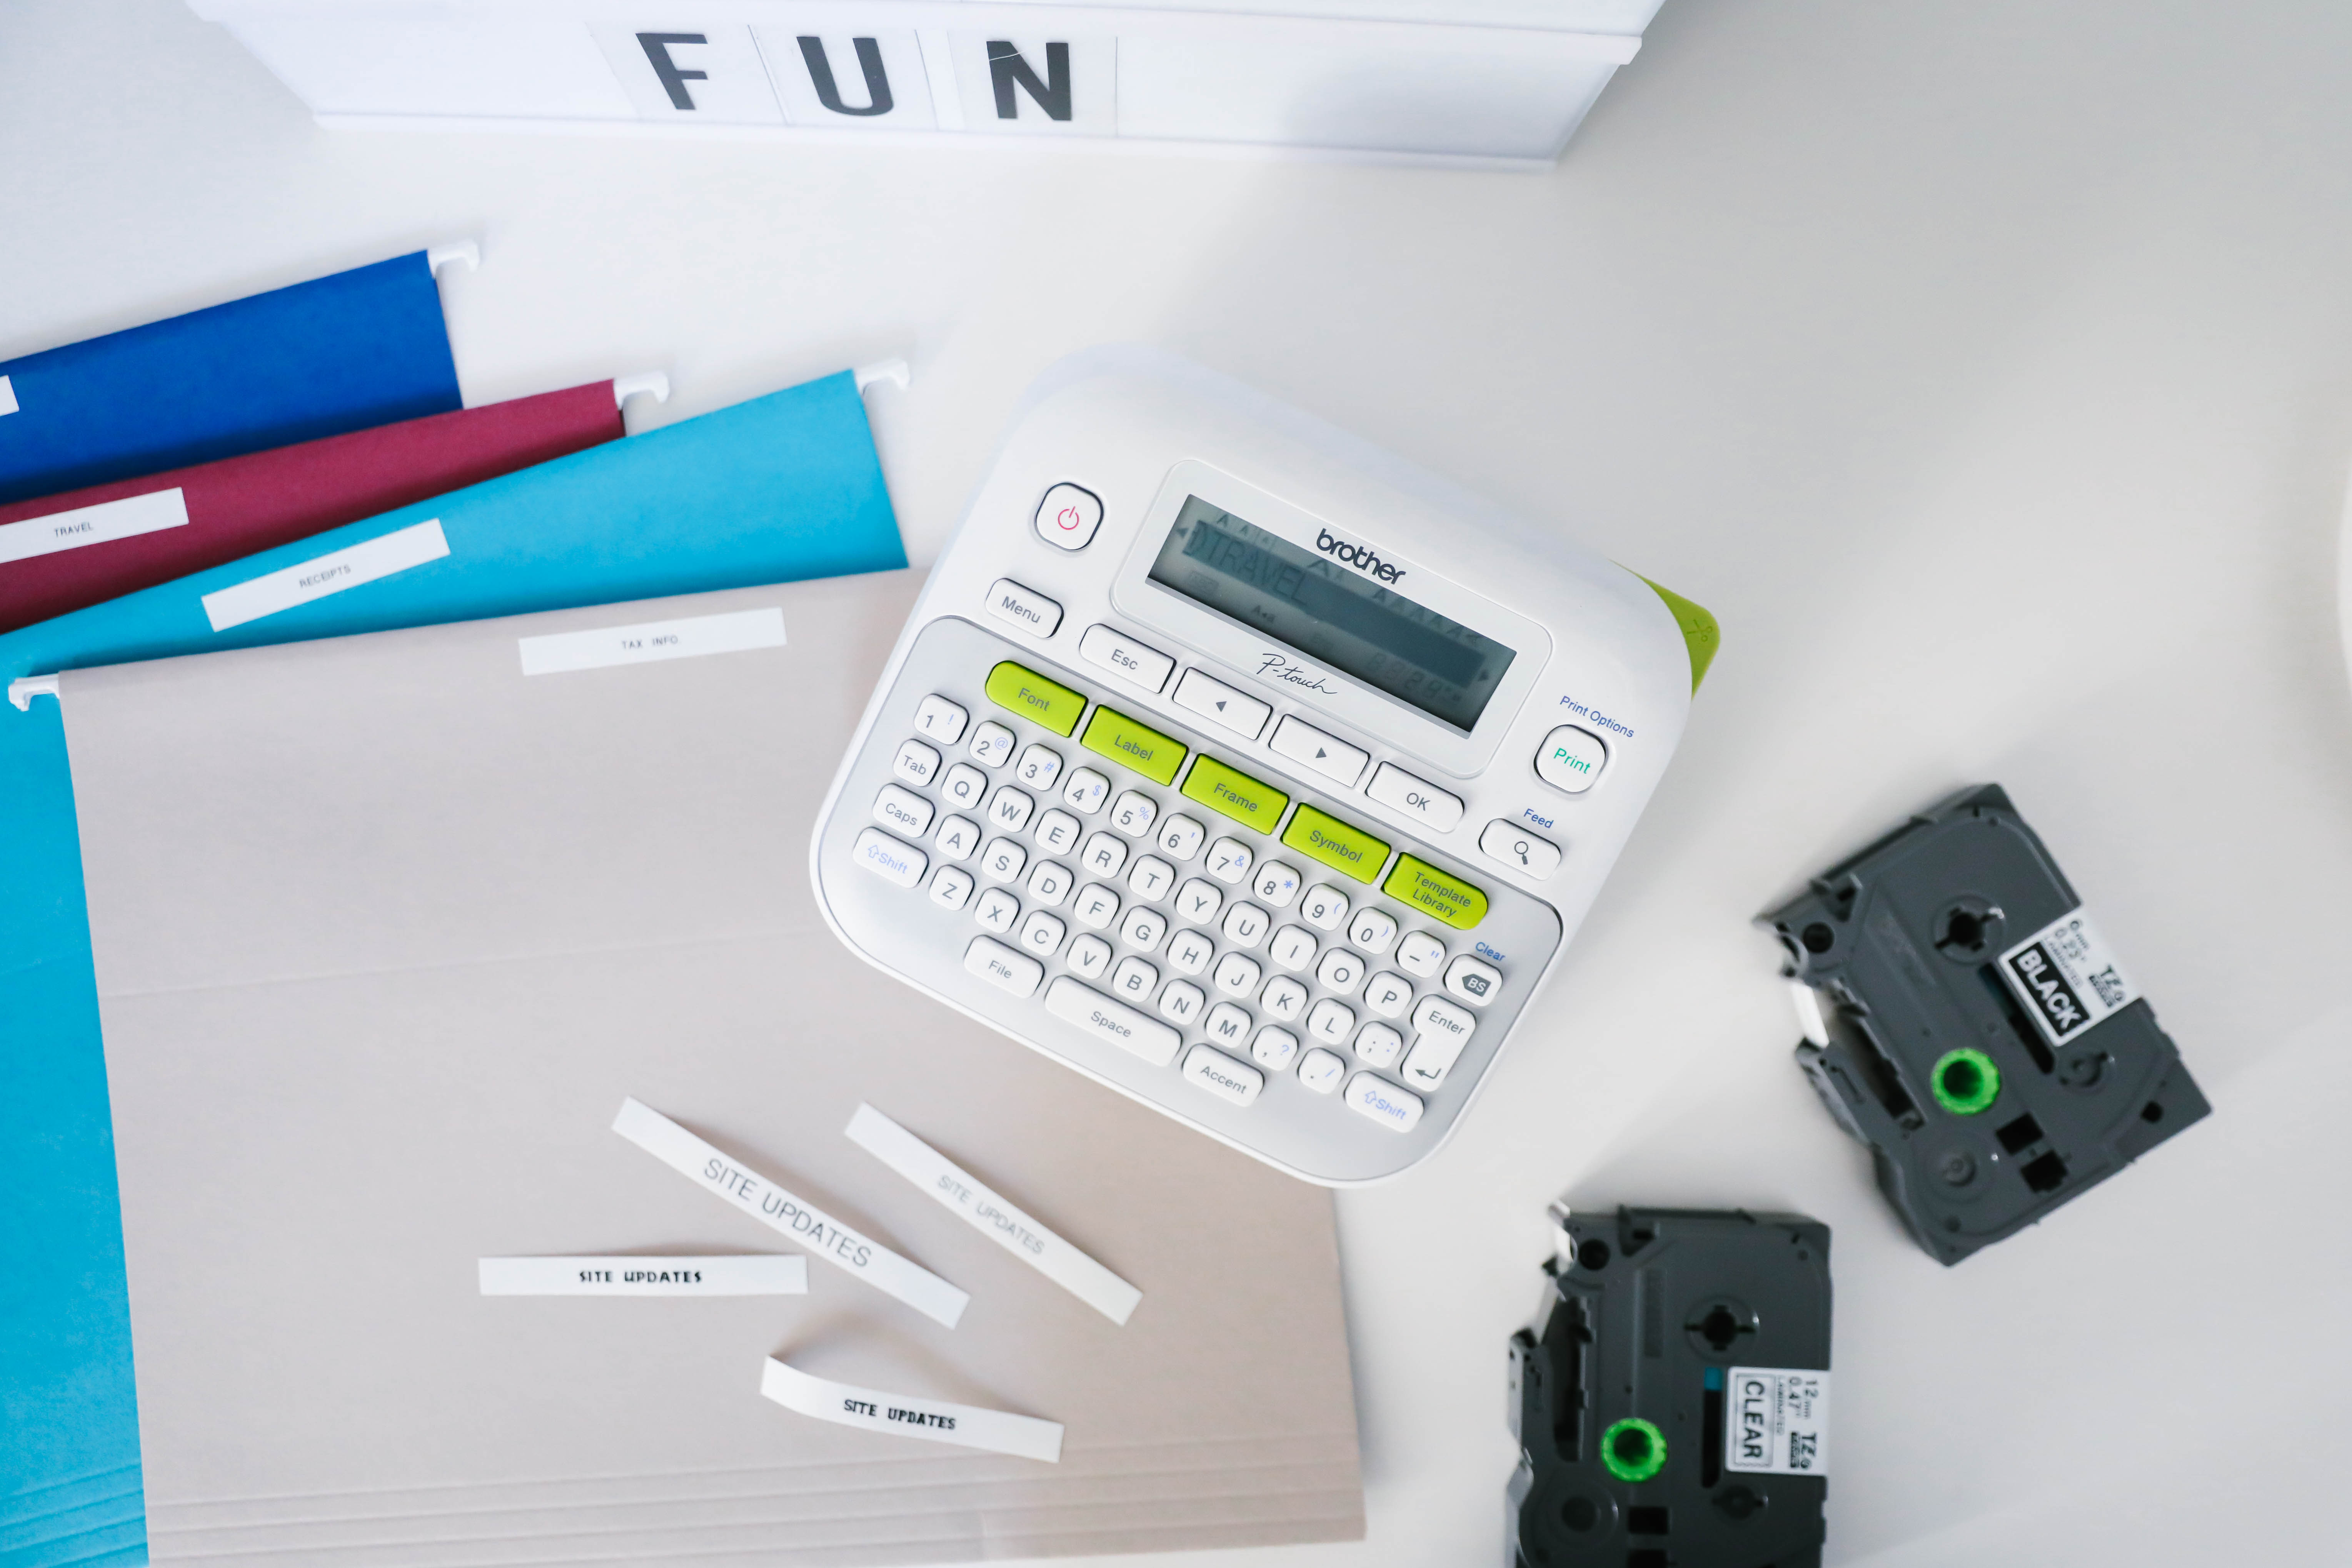
3. Keep Tabs on Important Paperwork: Paperwork seems to be the necessary evil of running a business ;). There seems to be a never-ending amount of files to keep up with, from invoices to tax information, and keeping it organized on an ongoing basis will make your life a lot easier in the long run. Since I don’t necessarily need to access these papers, I grabbed a file storage box with hanging file folders and got to work creating labeled folders for each type of document that’s important for me to keep track of. The small font size option on my P-touch was perfect for keeping labels subtle and small while I can still quickly flip through the file box and find what I need.
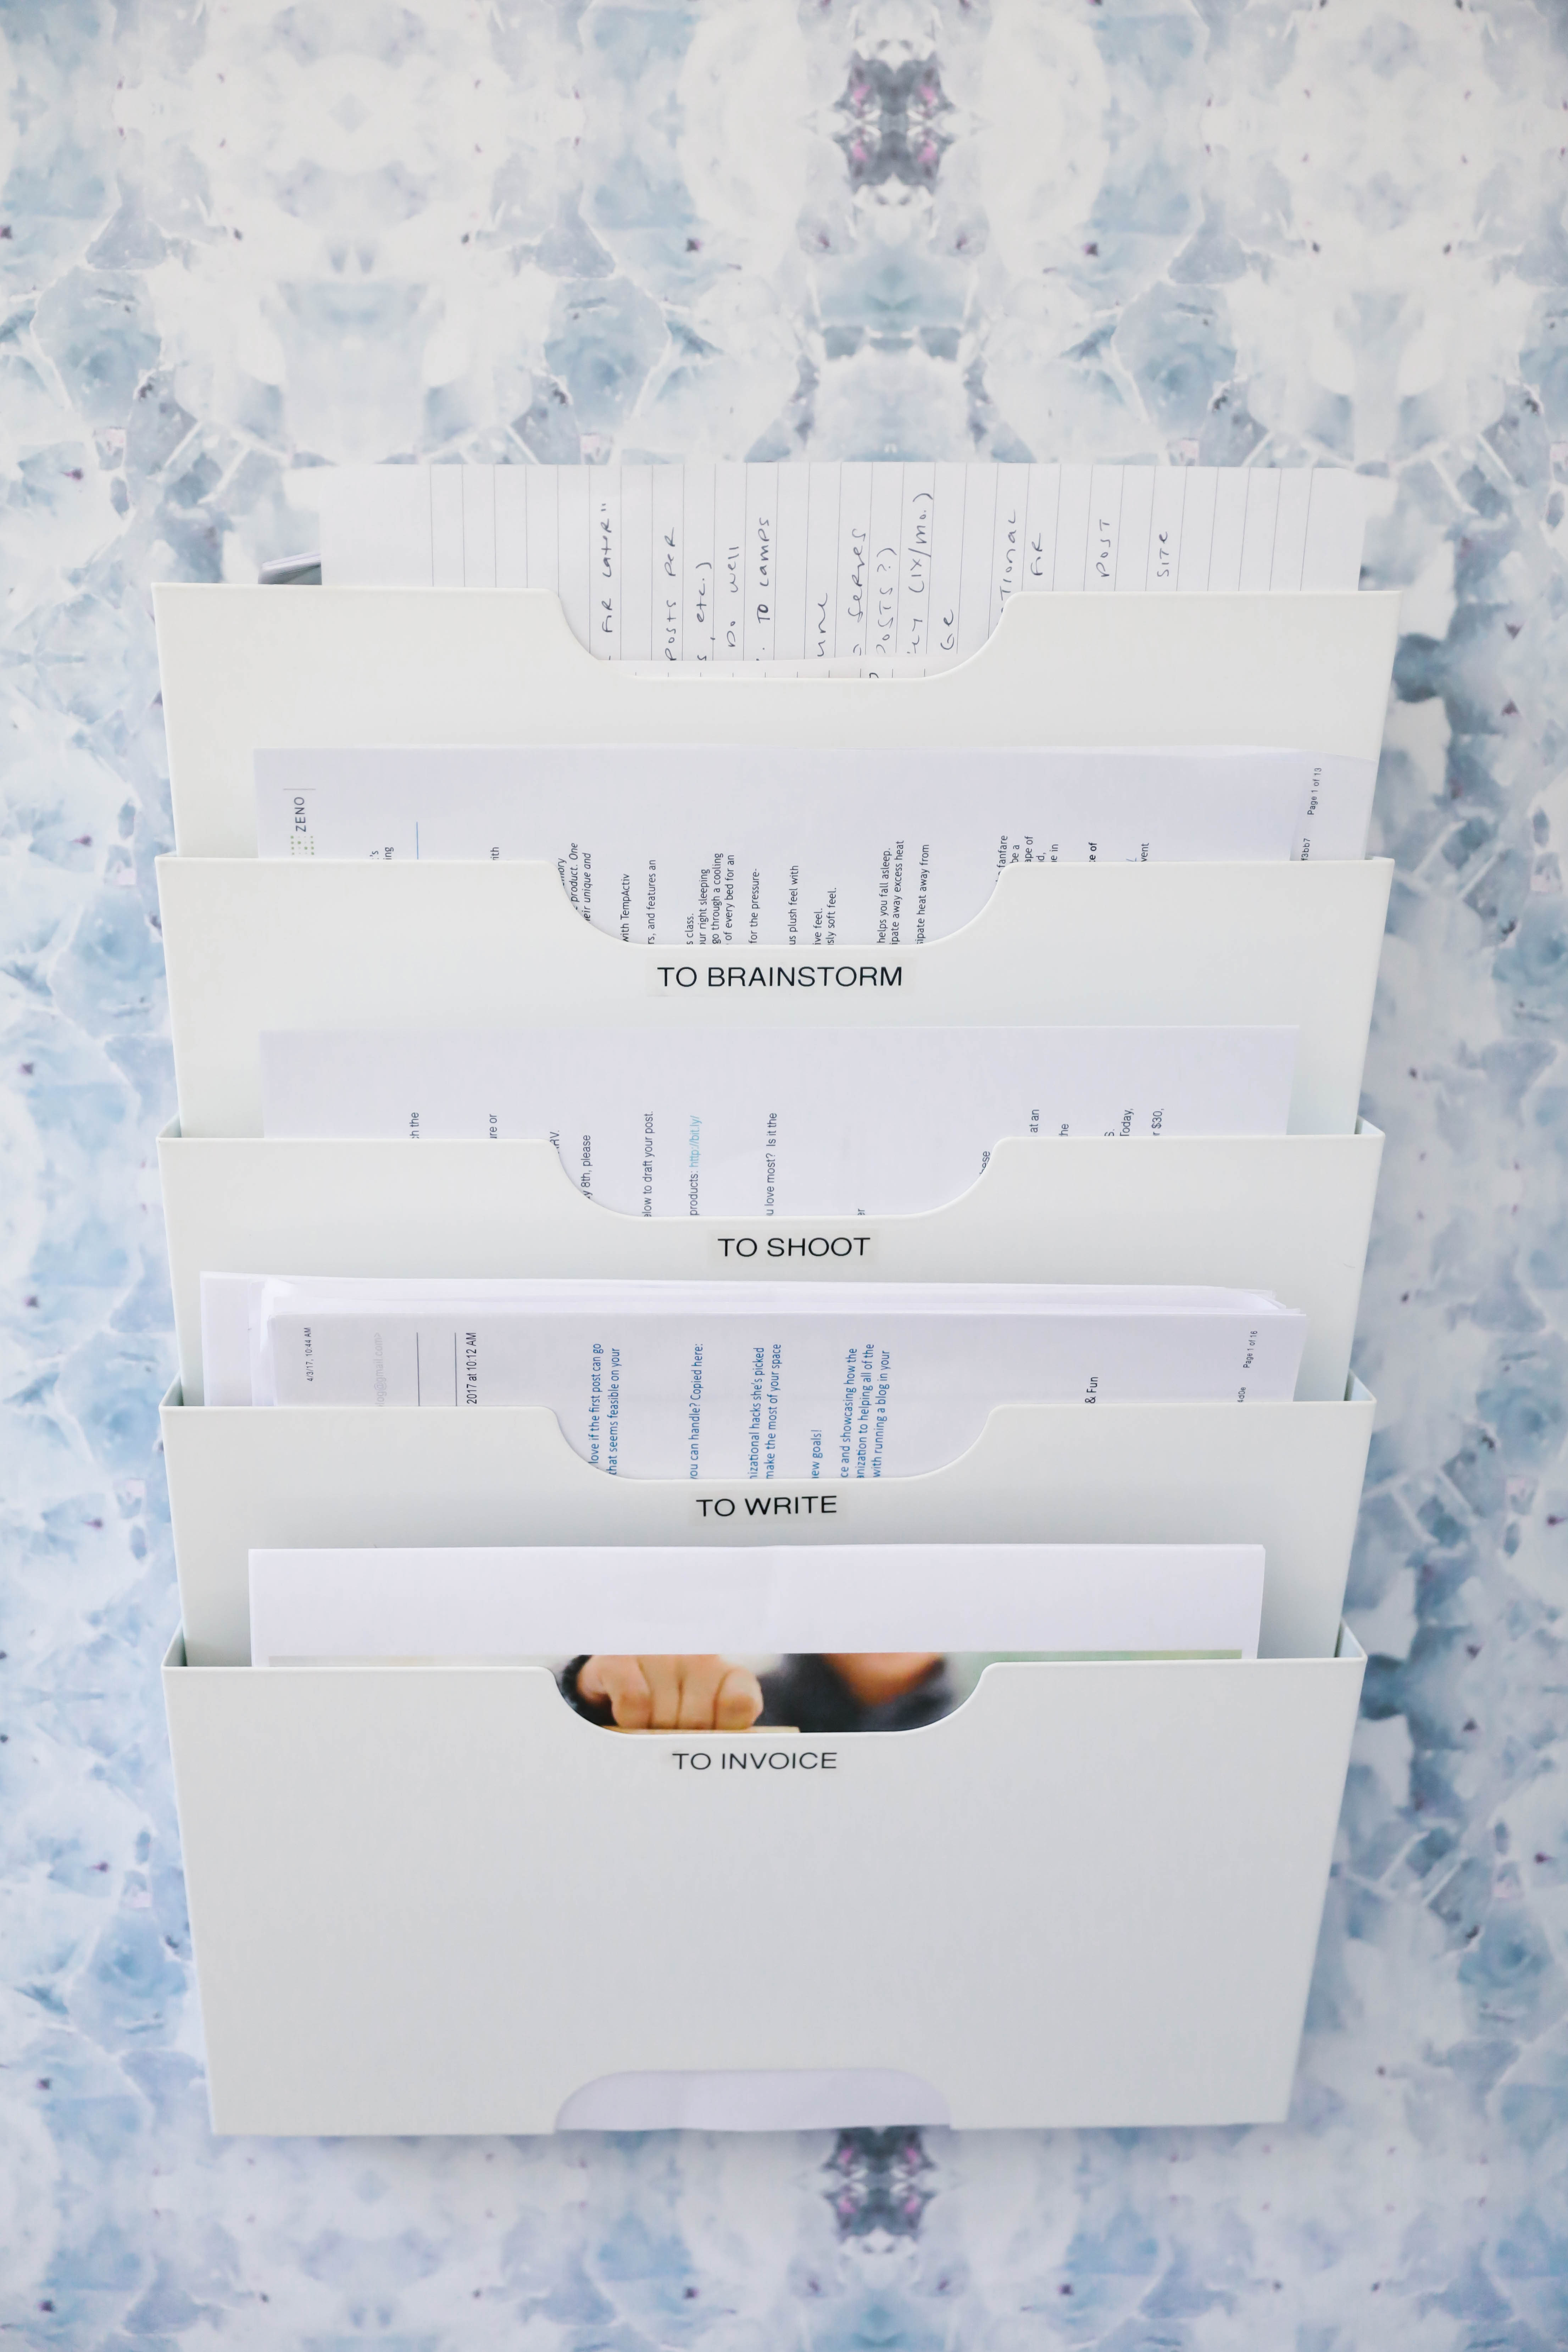
4. Move Projects Through a Filing System: With any project comes a production process – from brainstorming to shooting and writing content, I needed a way to easily keep tabs on what I was actively working on and used a hanging filing system to categorize my print outs (remember, I’m analog when it comes to my workflow!). Adding labels to each section created a way for me to organize my natural project workflow and track what needed to still be done so I can break down larger, long-term projects into more digestible pieces to avoid feeling overwhelmed.
For those of you also running a business out of your home, what are some of your tricks to stay organized? Anyone have a great organization hack that I missed?
To purchase your very own Brother P-Touch D210 label maker, visit Amazon, Staples, or Office Depot.
This post was sponsored by Brother and as always, all opinions are 100% honest and my own – authenticity is a top priority and I only partner with brands I truly love. Thank you for supporting the brands that partner with Pretty & Fun!

